


In the past couple of years or so, we can all see how live streaming video content is now everywhere. Video marketing is no longer a luxury for big enterprises and famous influencers, but it is now a necessity for all modern businesses.
By adding live streaming video on our website, we can make encourage our audience to stay longer on our site, which will provide various benefits for our business.
In this guide, we will discuss how we can add live streaming video on any website, and by the end, you can use our tips to enhance your existing website with live streaming content.

Let’s begin with the basics.
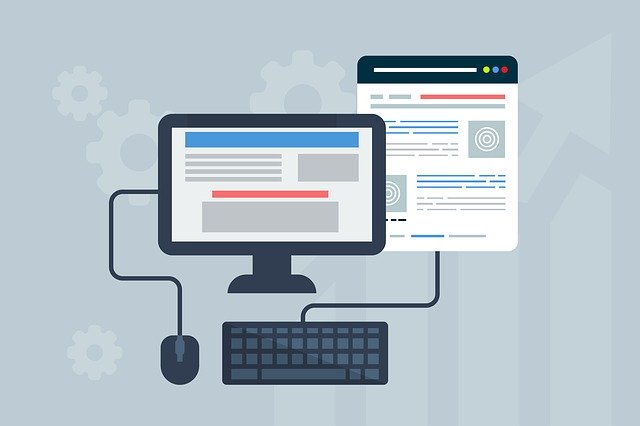
What Is Video Embedding
To add a live streaming capability to our website, we have to ‘embed’ a live video player on the website. Yet, what does embedding a video actually means?
When you embed a video, you are adding a third-party video player to your website, while the player comes from a third-party platform. Most popular video hosting platforms (think YouTube) offer easy ways to do this nowadays, in most cases by merely copy-pasting a link or a code (called the embed code.)
Video platforms like Viloud that offer the capability to run a live stream, will also allow us to do the same thing after a few simple steps. So, embedding a video player on your website shouldn’t be too much of a hassle, and what really matters is to choose the right video hosting platform that allows live streaming.
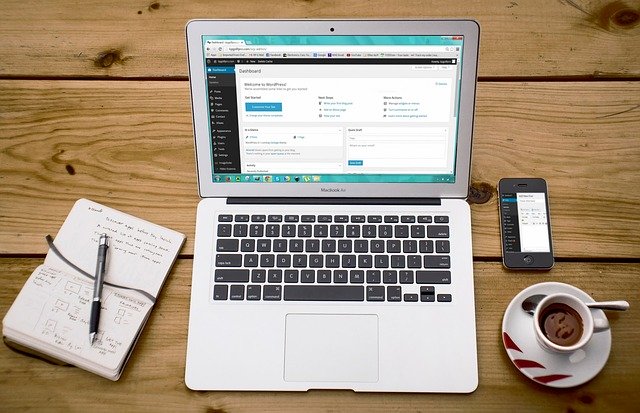
How To Embed Video Player on Your Site
While the steps required to embed a video player on your website can vary depending on the platform, essentially there are only two essential steps to embed video player and display video content on your site:
- Copying an embed link or embed code provided by the platform
- Pasting the code in the right place on your website
So, there are two variables: first, different platforms will offer different ways for you to copy the embed code. Second, depending on your website’s platform/architecture, you might need different ways to paste the code. However, they shouldn’t be overly complicated if you are not using outdated platforms.
There is also the possibility of building your own video player, but most website hosting companies and CMSs will require you to use a third-party hosting platform like Viloud.
Below we will discuss how to embed Viloud player to your website, and how to set up Viloud to live-stream your video content on your website.
Embed The Viloud Player on Your Website
Embedding the Viloud player on your website is a fairly easy step, and as discussed above, it’s a simple copy-pasting process.
To get the embed code for your Viloud player, you can follow the following steps:
- Log in to your Viloud account
- Click on the ‘Channels’ tab in the navigation menu on the left-hand side of your screen
- Click on the ‘Embed’ button on the channels list, should be easy enough to find
- Configure your player from size, display options, playback options, and others
- You should see the embed code on the text box now, copy the code to your clipboard
What’s left is simply pasting the code in your site’s HTML code. You can also click the ‘Preview in new window’ button to preview what your video player is going to look like, which is also useful if you want to test various things about your channel.


Do You Need an Encoder to Live Stream Videos?
If you want to live-stream your video content on your website, you’ll most likely need the help of an encoder–whether software or hardware. However, if you want to stream pre-recorded videos, then no, you don’t need an encoder.
An encoder essentially converts and compresses data from your camera into a stream-friendly. A typical camera doesn’t save your video as one single video file, but actually includes a lot of individual image files, depending on the length of your video.
An encoder will ‘stitch’ these individual image files into one single file. This is very important in a live stream where latency and stability are essential for the stream’s success. An encoder will help you with the following benefits.
- Compressing the video file into a smaller size without compromising quality
- Change the resolution of the video file in real-time
- Enhance audio/video quality
- Change audio/video format
- Change streaming bitrate into your desired size
- Ensuring the video/audio file compatible with specific devices and specific software used in your stream
You can choose between two different types of encoders: hardware or software.
As the name suggests, a hardware encoder is a dedicated device that will do all your encoding for you. You can simply connect your camera and your computer into the hardware encoder, set it up, and you are good to go.
Hardware encoders are built to last and typically produce better latency than the software counterpart. However, they are typically more expensive.
On the other hand, software encoders are more affordable, and some, like OBS studio, are free and pretty reliable. However, to run a software encoder you will need a dedicated computer or a smartphone, and they are typically not as reliable as comparable hardware ones.
We’d recommend you to test free or affordable software options (there are no free hardware encoders), and you’ll need a decent computer. If this configuration is not enough for your needs (i.e. if you are getting a higher latency than desired), then you might want to upgrade to a hardware encoder.
Streaming Your Video Content on Your Website
Now that you’ve embedded a live stream-friendly video player and a proper encoder for your live streaming, you are basically ready to stream your content to your website.
While broadcasting your live-stream video will vary depending on your setup, here are the basic ways to broadcast your video:
- Connect your camera and other video sources to the hardware encoder or to your computer (if you are using a software encoder).
- Again make sure your video hosting player is embedded properly on your website
- Create an event or channel on your website
- Don’t forget to give a title for your broadcast. You can go live right now, or you can schedule a time for your live stream

Pretty simple, right?
However, make sure to test all the elements of your setup (both software and hardware) before you launch your live broadcast.
End Words
Above, we have explained how you can add live streaming video capabilities on your website, and as you can see, the steps required are pretty simple. Simply grab an embed code from your chosen video hosting platform and then paste it on your site’s HTML coding. The most important thing to consider here is to choose the right video hosting platform that supports live streaming.

